
A floor can look nearly perfect until one repaired board, patched threshold, or newly installed stair tread catches the light. Learning how to match hardwood floor stain is less about finding a label that sounds right and more about understanding the wood, the existing finish, and the preparation underneath it. A stain that appears correct in the can can dry dramatically lighter, darker, warmer, or cooler once it reaches your floor.
For a result that disappears into the surrounding flooring, assess the full system before choosing a color: wood species, board age, sanding level, stain, sealer, and final finish. That is where professional testing earns its value.
Why Matching Hardwood Floor Stain Is Difficult
Hardwood floors do not hold color the same way from house to house. Red oak, white oak, maple, hickory, pine, walnut, and Brazilian cherry each absorb stain differently. Even boards from the same species can vary because of grain density, mineral streaks, age, and the way they were milled.
The existing floor also changes over time. Sunlight can amber some finishes, deepen certain species, and fade others. Area rugs, furniture, and runners may leave protected sections that are noticeably different when moved. In older Maryland and Washington, DC homes, a floor may have decades of oxidation and several generations of finish products affecting its appearance.
Then there is the finish itself. Many homeowners assume stain creates all of the color, but the clear coat has a major effect. Oil-based polyurethane commonly adds warmth and amber tones. Waterborne finishes tend to stay clearer and can make the same stained wood appear less golden. A stain match without a finish match often looks close at first, then wrong after the final coat dries.
Start With the Wood, Not the Stain Color
Before selecting a stain, identify the wood species as accurately as possible. Red oak has an open, pronounced grain and usually accepts stain readily. White oak can look more neutral or gray-brown and may respond differently to the same formula. Maple and birch are tighter-grained woods that can absorb pigment unevenly, while pine can darken quickly in softer areas.
Species identification matters most when a repair includes replacement boards. A new red oak board placed beside an old white oak floor will not become identical through stain alone. The grain pattern and pore structure will still reveal the difference. In that situation, the best approach may be a custom color that visually narrows the contrast rather than trying to force an exact chemical match.
Look at the flooring in several places, including areas exposed to daylight and sections beneath furniture. If possible, bring a small sample of the new wood or a removed board to the evaluation. A trained flooring professional can often identify the species and explain whether the best path is spot blending, refinishing the affected room, or refinishing connected areas for a more uniform result.
How to Match Hardwood Floor Stain Through Test Samples
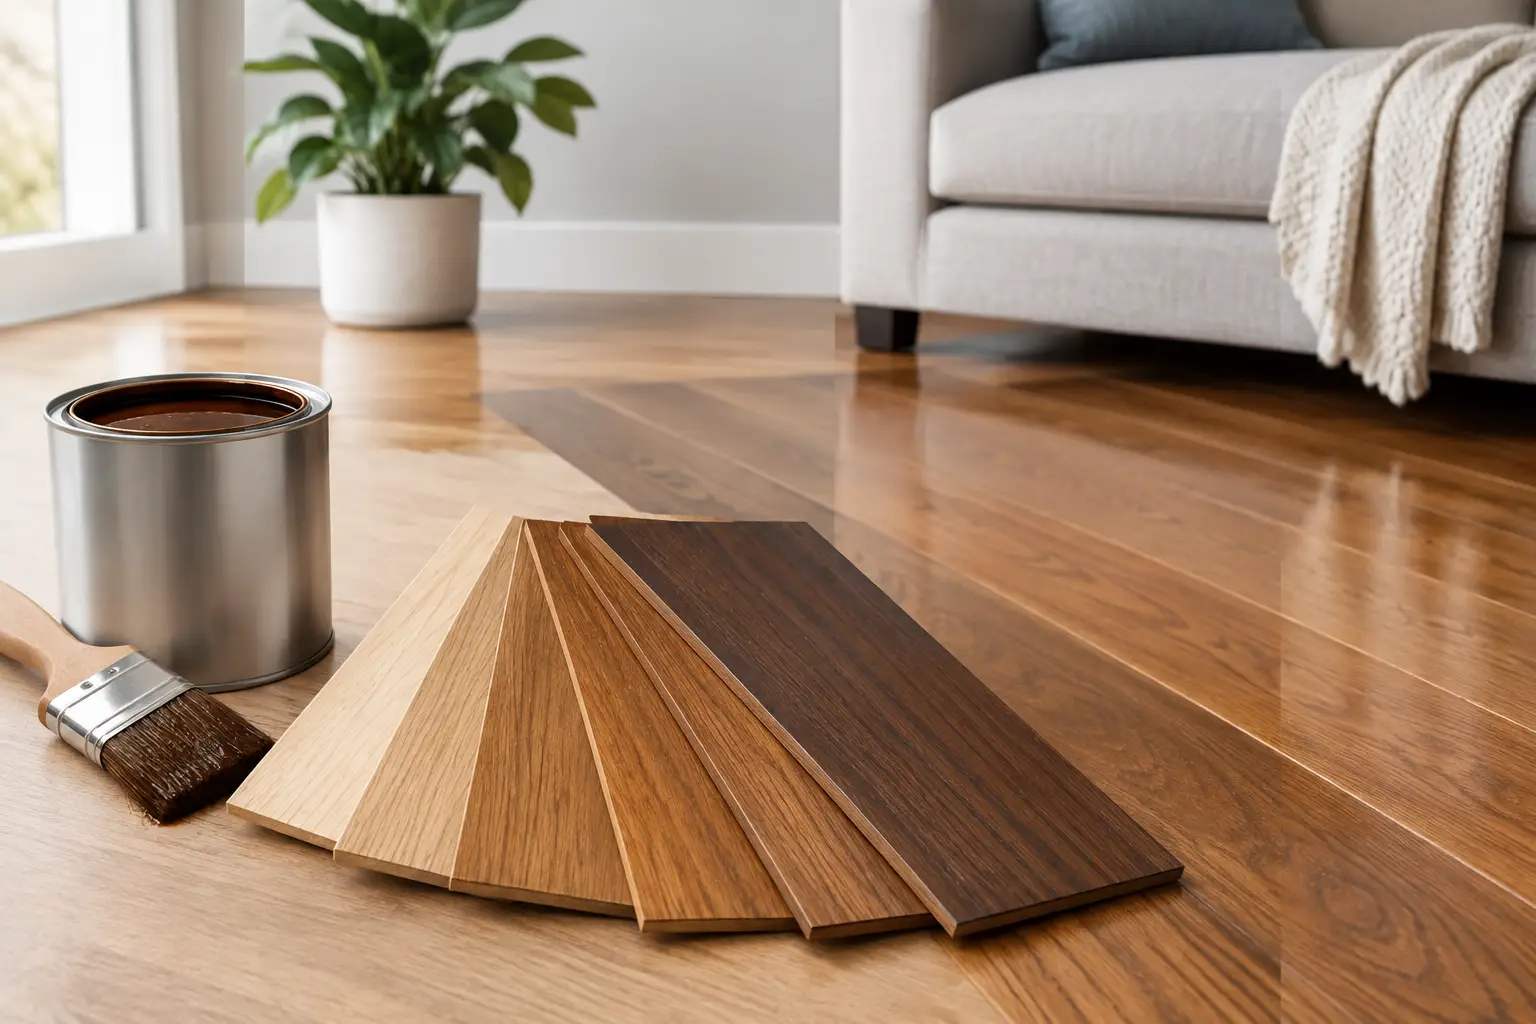
Test samples are the most reliable part of the process. Never approve a color from a stain chart alone. Manufacturer swatches are useful starting points, but they are typically shown on one species, with one preparation method and one finish system.
The proper test method is simple in concept but precise in execution. Sand a discreet section of the actual floor or use leftover boards from the same installation. Prepare every sample to the same final sanding grit planned for the job. A board sanded too finely may take less stain and dry lighter. One left too coarse may absorb more pigment and look darker or muddier.
Apply sample colors in the same manner planned for the full floor, then let them dry completely. Add the intended sealer and at least one coat of the final finish. View the samples in morning light, afternoon light, and evening interior lighting. This step prevents a common disappointment: approving a raw stain sample that becomes too amber or too dark once coated.
For difficult matches, a custom blend is often the answer. A technician may adjust a standard brown stain with small amounts of red, black, gray, or natural tones to account for the existing floor’s undertone. The goal is not to chase the color seen in a single photograph. It is to make the repaired or refinished area read as part of the same floor from normal viewing distance.
Sanding Changes the Final Color
A successful stain match begins with consistent sanding. Old finish, wax residue, surface contamination, and uneven previous sanding can block stain absorption or cause blotches. If only one board is sanded bare while the surrounding floor retains an aged finish, the color difference may be impossible to hide completely.
Spot repairs require restraint. Sanding too aggressively can create a shallow dish around the repair or expose cleaner wood beyond the intended blend area. Sanding too little leaves old finish behind, and stain will not penetrate evenly. Detailed edge work, hand sanding, and careful feathering are often needed near doorways, stairs, cabinetry, and historic trim.
For widespread wear or multiple patched areas, refinishing the entire room usually produces a better visual result than spot staining. It is more work upfront, but it avoids a floor made of several slightly different shades. Open-concept homes require another decision: stopping at a natural break such as a doorway can work well, while stopping in the middle of a continuous sightline usually does not.
Account for Aging, Sunlight, and Existing Finish
A fresh repair may match the floor’s current color but still change differently over the next several months. Natural light affects wood and finish, particularly in rooms with large windows or skylights. Moving rugs after refinishing can also reveal old color variation that no stain formula can fully erase.
Oil-based finishes are a practical choice when a warmer, traditional amber character is desired. Waterborne finishes are often preferred for their clearer appearance, lower odor, and faster dry times, especially when homeowners want a cooler or more natural-looking floor. Neither is universally better. The right finish depends on the desired color, the existing floor, household use, ventilation, and project schedule.
For historic homes, preserving character may matter more than making every board identical. Older floors often have natural variation, repaired sections, and marks that tell the story of the house. A good restoration respects that character while correcting damage, protecting the wood, and avoiding a conspicuously new patch.
When a Close Match Is Better Than an Exact Match
An exact stain match is not always realistic, especially when matching a small repair to an old floor. New wood may be lighter, cleaner, and more absorbent than boards that have aged for decades. Different batches of flooring can vary as well.
In those cases, prioritize the visual elements people notice first: overall lightness or darkness, warm versus cool undertones, and sheen level. A patch with the right brown tone but an overly glossy finish can stand out more than a patch that is slightly warmer in color. Satin is often forgiving because it reflects less light than semi-gloss, though the right sheen should still complement the rest of the home.
If there are several repairs, consider incorporating them into an intentional design transition. For example, a doorway, border, stair landing, or room break can create a logical place for a color change. This approach should feel deliberate, not like a workaround.
Common Mistakes to Avoid
The fastest way to miss a stain match is to skip testing. Other frequent problems include using a store sample as a final answer, applying stain over incomplete sanding, and choosing a finish without considering its ambering effect. Homeowners also sometimes attempt to darken only a worn traffic lane, which often creates a visible band across the room.
Avoid using household cleaners, waxes, or unknown restoration products immediately before refinishing. Residue can interfere with stain and finish adhesion. If water damage, pet staining, deep scratches, or black tannin marks are present, color alone may not solve the issue. Those conditions may require board replacement, bleaching, deeper sanding, or a planned color adjustment across a wider area.
Get the Match Evaluated Before Work Begins
A professional on-site evaluation can save time, material, and frustration when the floor has repairs, complex color variation, or an unknown finish history. At Refinish My Floors, stain matching is approached as a finish system, with attention to wood species, sanding preparation, custom sample boards, and the final protective coats.
Bring the decision back to the floor itself. Test on the real wood, view the sample under the lighting you live with, and allow the finish to show its true color before committing. That extra care is what turns a repaired board from an obvious patch into a part of the home.

