
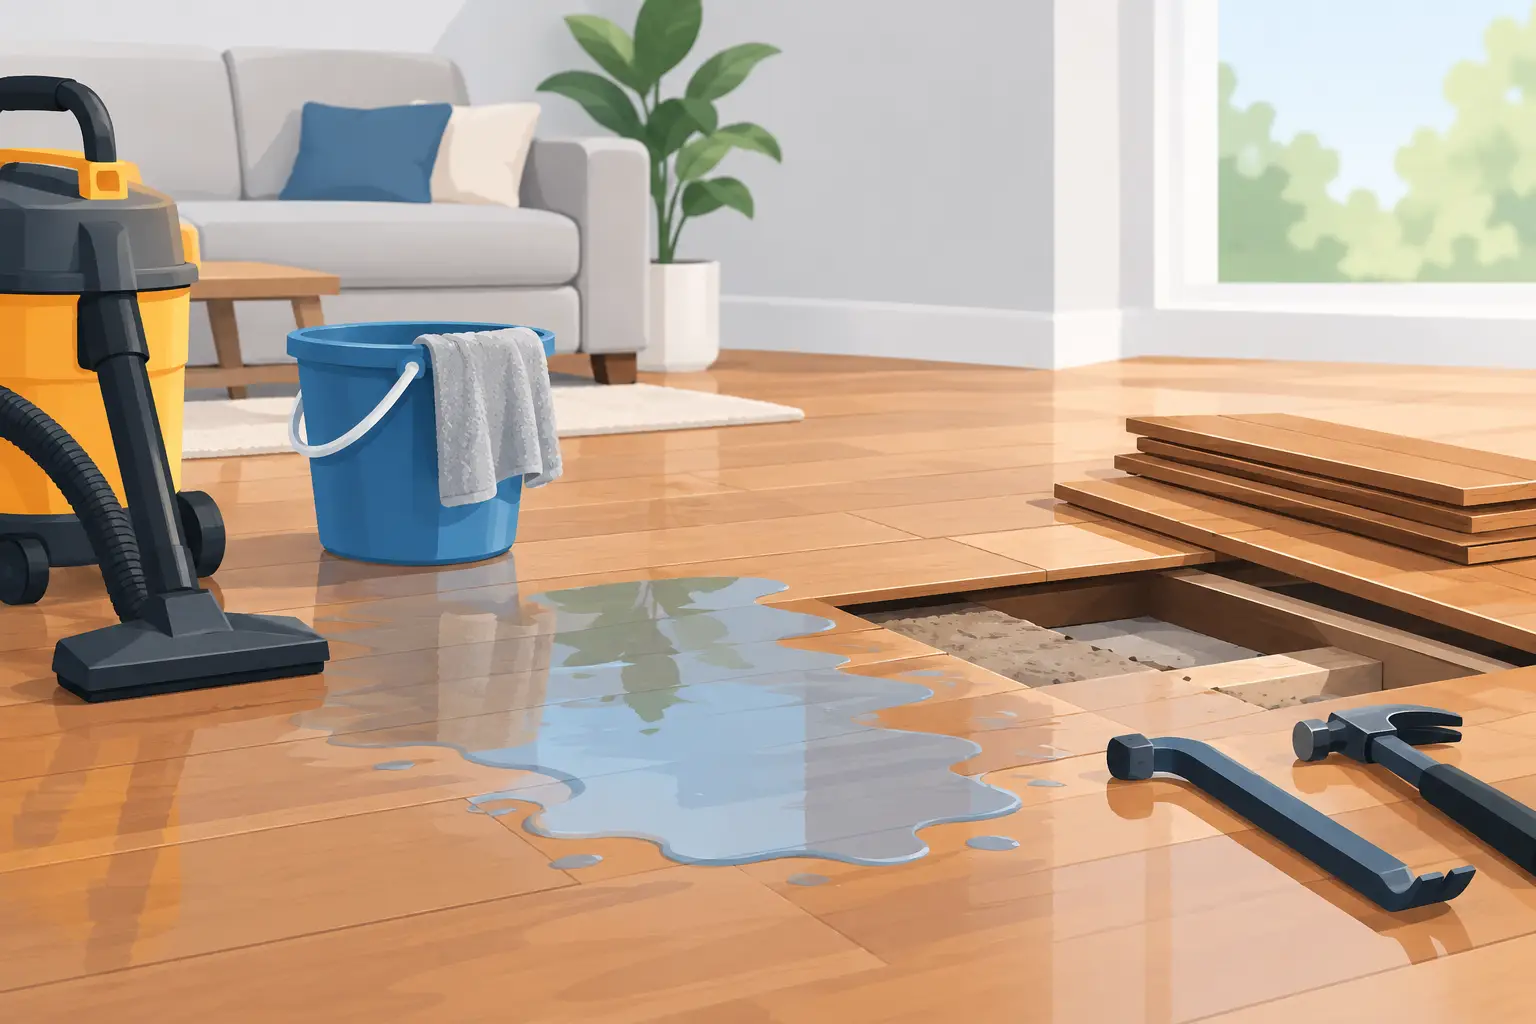
A leaking dishwasher can turn a sound hardwood floor into a repair decision in a matter of hours. The key to successful hardwood floor water damage repair is not simply removing visible water. It is stopping the source, drying the structure beneath the boards, and determining whether the wood has changed shape, lost its bond, or developed conditions that will worsen after the surface looks dry.
Hardwood is durable, but it is hygroscopic – it absorbs and releases moisture with changes in its environment. When water enters through board seams, floor vents, appliance lines, exterior doors, or a plumbing leak, the boards and subfloor can absorb moisture unevenly. That is why a floor may look fine on day one and begin cupping, crowning, buckling, or separating several days later.
For homeowners in Maryland and Washington, DC, quick action matters especially in older homes, where original strip flooring, plank floors, and layered subfloors can hold moisture longer than expected. The goal is to preserve as much of the existing floor as possible without sealing in a problem that later requires a larger replacement.
First steps after water reaches a hardwood floor
Start by stopping the water at its source. Shut off the appliance, close the supply valve, place a temporary cover over a roof leak, or contact a plumber if a pipe is involved. If water has reached electrical outlets, cords, or equipment, avoid the area until it is safe to enter.
Remove standing water with towels, a wet vacuum, or a mop that has been thoroughly wrung out. Do not scrub aggressively or flood the floor with cleaning products. The immediate job is extraction, not polishing. Move rugs, pet beds, furniture, and any items that trap moisture against the surface.
Then create controlled airflow. Use fans to move air across the floor and run a dehumidifier to reduce moisture in the room. Air conditioning can also help during humid weather. Avoid placing intense heat directly on the boards or using a space heater to force rapid drying. Wood that dries too quickly at the surface while remaining wet underneath can crack, split, or distort further.
Take clear photos before moving furniture and again as the floor changes over the next several days. Documentation is useful for insurance claims and gives a flooring professional a better picture of the original damage. If the water came from a drain backup, sewage line, or other contaminated source, treat the situation differently: professional cleaning, material removal, and safety precautions may be necessary.
What water damage looks like as wood dries
Not every wet hardwood floor needs to be torn out. The condition of the boards, the subfloor, the finish, and the water source all influence the repair plan. A careful assessment should happen after initial drying has begun, not solely while the floor is visibly wet.
Cupping occurs when the edges of a board rise higher than its center. It often indicates that the underside of the flooring has absorbed more moisture than the top. Minor cupping may relax as moisture levels return to normal. Sanding too soon can create a permanently dished floor once the boards flatten.
Crowning is the opposite pattern: the center of the board rises above the edges. It can occur when a previously cupped floor is sanded before it is fully dry, or when moisture enters from above and affects the face of the boards more heavily.
Buckling is more serious. Boards can lift away from the subfloor, push against one another, or form ridges that make the floor unstable. This may point to significant moisture below the wood, inadequate expansion space, adhesive failure, or damage to the subfloor itself. Loose boards, black staining, persistent odors, and visible mold are also signs that a surface-only repair may not be enough.
A moisture meter is far more reliable than touch when deciding whether a floor is dry. Professional assessment compares moisture readings in affected boards with readings in unaffected areas, then considers the wood species, installation method, and seasonal humidity. That information prevents premature sanding and helps identify moisture that remains hidden below the finish.
Hardwood floor water damage repair options
The right repair is based on what can be stabilized and restored, not on a one-size-fits-all rule. In many cases, a floor can be saved through patient drying, targeted board work, and refinishing. In others, replacing a defined section protects the rest of the installation.
Drying and monitoring for minor damage
When water exposure is limited and boards remain securely attached, controlled drying may be the complete repair. The floor should be checked regularly for changes in board shape, gaps, movement, and moisture readings. Once the wood has returned to an appropriate moisture range and remained stable, light surface wear or dullness may be addressed with a recoat or refinishing process.
This option preserves the original floor and is often the best outcome for historic strip flooring or a floor with character worth keeping. It requires patience. Refinishing before the wood is stable can turn a manageable water event into a more expensive correction.
Replacing damaged boards
Individual board replacement is appropriate when damage is localized – for example, beneath a refrigerator line, near an exterior door, or around a small plumbing leak. Severely stained, delaminated, split, loose, or permanently distorted boards can be removed while retaining surrounding material that remains sound.
Matching replacement wood is a detailed part of the work. Width, thickness, species, grain character, milling profile, and age all affect the final appearance. A new board rarely matches an older floor straight from the package. Professional color blending and refinishing allow the repaired area to integrate more naturally with the existing floor.
Repairing the subfloor before refinishing
If moisture reached the subfloor, the repair may require lifting damaged flooring to inspect what lies underneath. Wet plywood can swell and lose structural integrity; wet framing or concrete conditions can continue feeding moisture into a newly repaired floor. The damaged source must be corrected and the assembly dried before replacement boards are installed.
This stage is where careful trade work matters most. Installing new hardwood over a damp or uneven substrate can cause recurring movement, hollow spots, failed fasteners, and finish problems. Proper preparation may include subfloor repair, leveling where appropriate, moisture management, and attention to expansion gaps along walls and fixed objects.
Sanding and refinishing after the floor is stable
When repairs are complete and the flooring has acclimated, sanding can remove water marks, blend replacement boards, correct minor surface irregularities, and prepare the wood for a new finish system. Dustless Bona sanding equipment helps keep the work area cleaner, particularly in occupied homes where containment and cleanup matter.
The finish choice should suit the room and the household. A durable commercial-grade finish may make sense for active family rooms, entry areas, and commercial spaces. Custom stain can help unify old and new boards, but dark colors may emphasize grain variation, repaired areas, and future scratches. A natural or lighter finish often better preserves the visual character of older wood.
When to call a flooring professional
Call promptly when boards are lifting, water has traveled beneath cabinets or walls, the leak involved contaminated water, or the affected area is expanding. You should also arrange an evaluation if your floor remains damp, smells musty, develops dark stains, or continues changing shape after basic drying measures.
A professional evaluation should include more than a glance at the finish. It should identify the water source, measure moisture, inspect the stability of the floor and subfloor, and explain whether drying, selective replacement, or full removal is warranted. For a historic home, the plan should also consider how to retain original boards and preserve the floor’s character wherever practical.
Refinish My Floors approaches water-damage work with that sequence in mind: assess the condition, stabilize the structure, complete precise repairs, and finish the floor only when it is ready. Photo-based damage review and project tracking can also make it easier to document the condition and follow the work from the first assessment through final finish coats.
Preventing the next water event
Once the repair is complete, protect the investment by checking appliance hoses, refrigerator supply lines, dishwasher connections, and exterior thresholds regularly. Use mats at entryways, but choose breathable options and lift them periodically so moisture does not become trapped beneath them. Keep indoor humidity reasonably consistent, especially through Maryland’s humid summers and dry heating season.
For kitchens, laundry rooms, and entry areas, respond to small spills before they find board seams. A well-maintained finish slows water absorption, but no finish makes hardwood waterproof. Recoating a worn floor before bare wood is exposed is practical maintenance, not a cosmetic extra.
A wet hardwood floor creates urgency, but urgency should lead to a measured repair plan rather than a rushed sanding or replacement decision. Dry it correctly, verify what is happening below the surface, and give the wood the professional attention needed to keep a temporary leak from becoming a permanent loss.

