
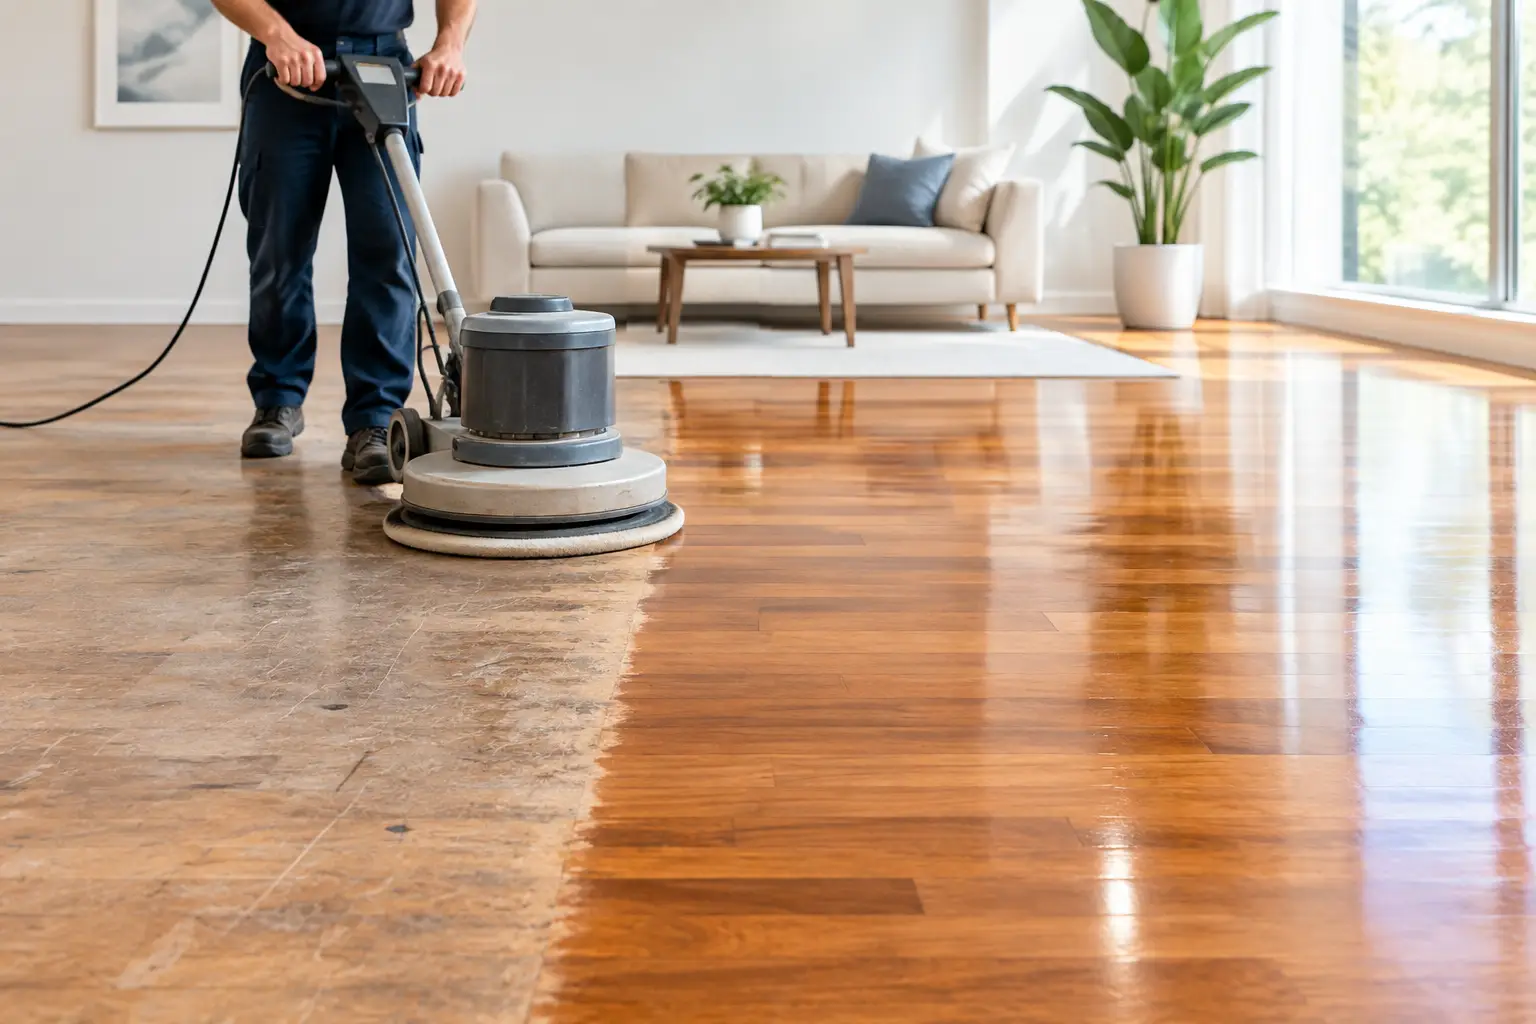
A floor with a century of foot traffic tells the truth. It may have nail holes near an old radiator, darkened boards beneath a former rug, or a worn path from the front door to the kitchen. Those marks are not always defects. When homeowners choose to restore original hardwood floors, the goal is not to make old wood look factory-new. It is to preserve the material, correct real damage, and give the floor a finish that can serve the home for years to come.
Original hardwood is often one of a property’s strongest assets, especially in older homes throughout Montgomery County, Baltimore County, and Washington, DC. Many original floors were installed with dense, old-growth lumber that is difficult to replicate today. The right restoration brings out that quality without sanding away the history that made the floor worth saving.
When to Restore Original Hardwood Floors
A worn finish does not automatically mean a floor needs replacement. In many cases, dullness, surface scratches, faded stain, and ordinary traffic wear are signs that the finish has reached the end of its useful life, not that the wood itself has failed. Refinishing can remove the old coating, level minor surface wear, and apply a new protective finish.
The decision becomes more involved when there are gaps, deep stains, pet damage, water marks, cupping, loose boards, or previous repair attempts that do not match. These conditions can still be repairable, but they need to be evaluated before sanding begins. A dark water stain, for example, may be confined to the finish or may extend deeply into the wood fibers. A board that is cupped from moisture may flatten once the moisture issue is resolved, while a severely warped board may need replacement.
Floor thickness is another important factor. Solid hardwood can often be sanded multiple times over its lifetime, but not indefinitely. A professional evaluation should check remaining wear layer, board condition, fastener exposure, movement between boards, and the condition of the subfloor. This is particularly important in historic homes, where aggressive sanding can erase original bevels, soften board edges, and reduce the life of the floor.
Start With the Cause, Not the Surface
A beautiful new finish will not solve an active moisture problem. Before restoration, identify why the floor was damaged in the first place. Leaks under appliances, wet basements, failed exterior drainage, pet accidents, and seasonal humidity swings can all affect wood flooring.
If water has reached the subfloor or caused boards to lift, the source must be corrected before repair work begins. Otherwise, replacement boards and fresh finish coats may fail prematurely. In commercial spaces, the same principle applies to entryways and high-traffic corridors. Moisture-control mats, routine cleaning practices, and finish selection are part of the restoration plan, not afterthoughts.
An on-site assessment also helps separate cosmetic issues from structural ones. Minor gaps are common in older hardwood and may expand or contract with Maryland’s seasonal humidity. Large gaps, soft areas, recurring squeaks, or boards that move underfoot deserve closer attention. The best result comes from addressing the floor system as a whole, including the wood, fasteners, subfloor, transitions, and surrounding conditions.
The Restoration Process That Protects Old Wood
Restoration-sensitive work begins with preparation. Furniture removal, site protection, and a clear plan for vents, doorways, stairs, and adjacent finishes help keep the project organized. Dust containment matters as well, particularly in occupied homes. Professional dustless sanding systems capture much of the sanding dust at the source, making the work cleaner and reducing cleanup concerns for homeowners.
Next comes repair work. Loose boards may be secured, damaged sections can be replaced, and gaps or old patch areas can be addressed where appropriate. Matching replacement wood is rarely as simple as choosing the same species. Board width, grain pattern, milling profile, age, and existing color all affect whether a repair disappears into the original floor or remains obvious.
Sanding should be deliberate, not overly aggressive. The purpose is to remove failed finish, smooth wear patterns, and prepare the surface for color and protective coats. Original floors are not always perfectly flat, and trying to force them into perfect uniformity can remove more material than necessary. Skilled sanding respects the floor’s condition while creating a clean, even surface for the finish.
After sanding, the floor is carefully cleaned and inspected under changing light. This is the stage where missed scratches, edge work, patch transitions, and small imperfections are easier to catch. Stain and finish are then applied in a controlled sequence, with appropriate drying time between coats. The final appearance depends as much on preparation and application technique as it does on the product selected.
Choosing a Color and Finish That Fits the Home
Many homeowners assume restoring an original floor means returning to a very dark stain. Sometimes that is the right direction, especially in a formal historic interior. But a lighter natural finish can also highlight the grain and make a room feel more open. The best choice depends on the wood species, the home’s architecture, the amount of natural light, and the look of adjoining rooms.
Custom stain samples are valuable because stain can look dramatically different on red oak, white oak, maple, pine, or mixed-species repairs. A color that appears warm and balanced on a sample board may pull orange, gray, or red once applied across an entire room. Testing on the actual floor provides a more reliable answer before the project moves forward.
Finish sheen matters too. Matte and satin finishes tend to hide fine scratches and dust better than high-gloss finishes, making them practical for active households, pets, and busy commercial settings. Higher sheen can create a more formal look, but it also reflects more light and makes surface imperfections easier to see. Waterborne finishes typically offer lower odor and quicker return-to-service times, while some oil-based systems provide a traditional ambering effect. Neither is universally better. The right system depends on the desired color, schedule, durability needs, and indoor conditions.
What to Preserve and What to Repair
Not every mark needs to disappear. Small nail holes, slight color variation, and signs of age can add authenticity to an original floor. The line is crossed when damage affects safety, cleanliness, structural stability, or the floor’s ability to accept a protective finish.
Deep pet stains, black water marks, cracked boards, and failed old repairs usually deserve direct treatment. In some cases, selective board replacement is the most responsible choice. The replacement pieces can be woven into the surrounding layout rather than installed as a conspicuous rectangular patch. They can then be sanded and finished with the entire floor for a more integrated result.
Stairs require especially careful work. Treads, risers, railings, and handrails often show wear differently than the main floor and may involve several wood species or previous finish layers. Restoring them as part of the overall project helps create continuity from one level of the home to the next.
Plan for Life After Refinishing
A restored floor needs time to cure, even when it feels dry to the touch. Follow the finish manufacturer’s guidance before replacing rugs, moving heavy furniture, or allowing normal foot traffic. Felt pads on furniture legs, entry mats that do not trap moisture, and quick cleanup of spills will extend the life of the finish.
Avoid harsh cleaning products, steam mops, waxes, and excessive water. A soft broom, vacuum designed for hard surfaces, and a cleaner approved for the specific finish are usually enough for routine care. When traffic patterns begin to dull but the finish is still intact, a maintenance coat or screen-and-recoat may refresh protection without requiring a full sanding cycle.
Original hardwood has already proven its value by lasting decades. Give it a restoration plan that is equally considered: inspect the wood carefully, correct the underlying issues, preserve what gives it character, and rely on craftsmanship that protects what cannot be replaced.

